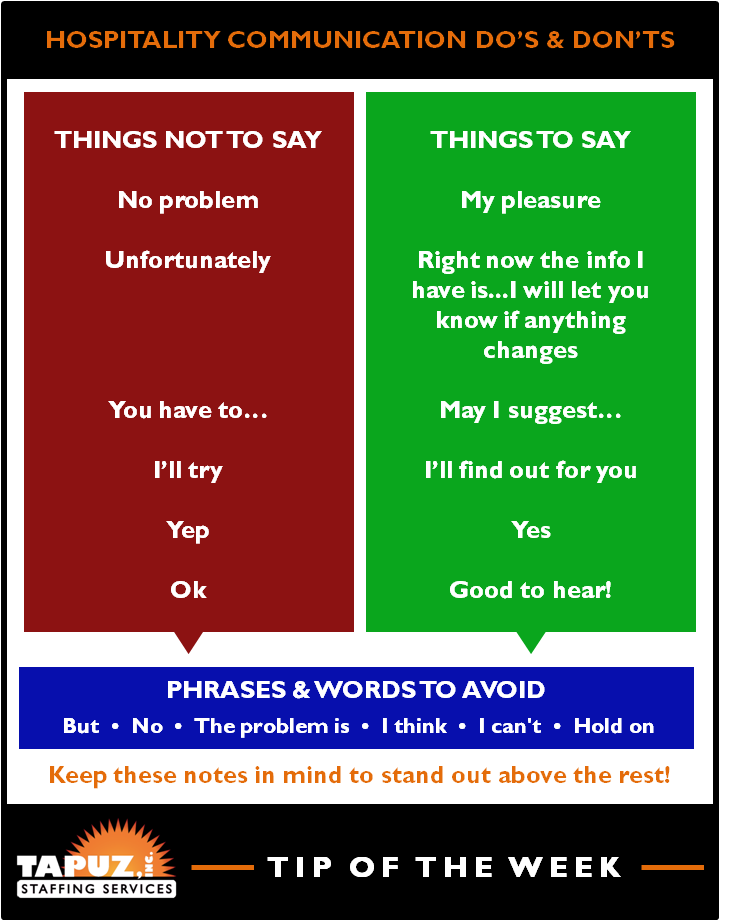
HOSPITALITY COMMUNICATION DO'S & DON'Ts
THINGS NOT TO SAY:
No problem, Unfortunately, You have to…, I’ll try, Yep, Ok
THINGS TO SAY INSTEAD:
My pleasure, Right now the info I have is...I will let you know if anything changes, May I suggest…, I’ll find out for you, Yes, Good to hear!
PHRASES & WORDS TO AVOID:
But, No, The problem is, I think, I can't, Hold on
We like to encourage all of our service staff to keep these notes in mind in order to stand out above the rest while working at an event!
How Important is Coat Check at an Event?
What does a Coat Check Attendant do?
The Coat Check Attendant’s overall responsibility is to maintain and secure the coat check area during an event. The coat check process typically begins with collection of guests' coat, hat or accessories they enter a business or event. Typically, the patron is given a numbered ticket to use for retrieval. The checker then places the items in a hanger or in a specific locker assigned to that guest. When the guest returns with his ticket or to pick up items, the attendant retrieves them and returns them to him. This role provides your guests a safe and secure location to store their outerwear and belongings, giving them hassle-free peace of mind to enjoy your event. It also cuts down on trip-and-fall hazards associated with having belongings draped over chairs and left on the floor.
A few notes we ask our Coat Check Attendants to keep in mind:
How many Coat Check Attendants are needed for an event?
We typically suggest 1 Attendant per 75 guests - which of course changes throughout the year - but during this chilly New York City holiday season, our guess is that most guests and hosts alike will enjoy this event staffing option!
The Coat Check Attendant’s overall responsibility is to maintain and secure the coat check area during an event. The coat check process typically begins with collection of guests' coat, hat or accessories they enter a business or event. Typically, the patron is given a numbered ticket to use for retrieval. The checker then places the items in a hanger or in a specific locker assigned to that guest. When the guest returns with his ticket or to pick up items, the attendant retrieves them and returns them to him. This role provides your guests a safe and secure location to store their outerwear and belongings, giving them hassle-free peace of mind to enjoy your event. It also cuts down on trip-and-fall hazards associated with having belongings draped over chairs and left on the floor.
A few notes we ask our Coat Check Attendants to keep in mind:
- Make sure to place items in numerical order.
- Be sure not to have duplicate tickets of the same # or color. For example, don’t open up 2 packs of blue tickets numbered 100-150.
- When working coat check the most common set-up is the 3-ticket. This means that each numbered ticket has 3 pieces to it. So if a guest checks in a coat and a bag, you are to then give them 1 ticket and the coat and bag will have the same number assigned to them.
How many Coat Check Attendants are needed for an event?
We typically suggest 1 Attendant per 75 guests - which of course changes throughout the year - but during this chilly New York City holiday season, our guess is that most guests and hosts alike will enjoy this event staffing option!
How To Set A Table: Place Setting Guidelines
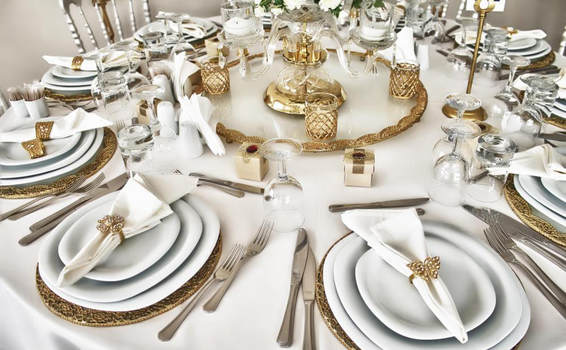
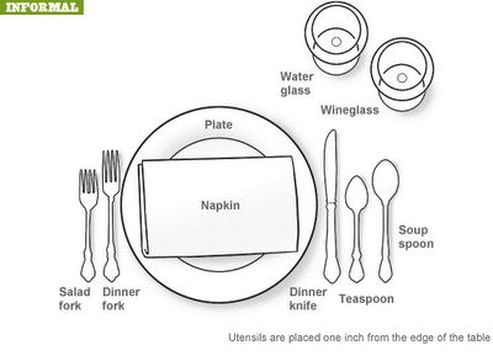
During the holiday season, both planning and attending events are two very popular activities! The type of event can range as wildly as one's imagination can stretch. When planning for a sit-down meal, the type usually falls into two general categories, either Formal or Informal. And when setting the table for a meal in one of these categories, we like to refer to the below Place Setting Guidelines to get each element just right!
INFORMAL:
Plate: Usually the first thing to be set on the table - set with the napkin on top of the plate.
Two Forks: Set to the left of the plate arranged according to when you need to use them. The dinner fork, the larger of the two forks, is used for the main course; the smaller fork is used for a salad or an appetizer.
Dinner Knife: The dinner knife is set immediately to the right of the plate, cutting edge facing inward. (If the main course is meat, a steak knife can take the place of the dinner knife.)
Spoons: The soup spoon goes to the far (outside) right of the dinner knife; the teaspoon or dessert spoon, which will be used last, goes to the left (inside) of the soup spoon, next to the dinner knife.
Glasses: Drinking glasses of any kind — water, wine, juice, iced tea — are placed at the top right of the dinner plate, above the knives and spoons.
FORMAL:
Service Plate: This large plate, also called a charger, serves as an underplate for the plate holding the first course, which will be brought to the table. When the first course is cleared, the service plate remains in place for any other courses, such as a soup course, until the plate holding the entrée is served, at which point the two plates are exchanged. The charger may serve as the underplate for several courses which precede the entrée.
Butter Plate: The small butter plate is placed above the forks at the left of the place setting.
Dinner Fork: The largest of the forks, also called the place fork, is placed on the left of the plate. Other smaller forks for other courses are arranged to the left or right of the dinner fork, according to when they will be used.
Salad Fork: If the salad is served after the entrée, the small salad fork is placed to the right of the dinner fork, next to the plate. If the salad is to be served first, and fish second, then the forks would be arranged (left to right): salad fork, fish fork, dinner fork.
Dinner Knife: The large dinner knife is placed to the right of the dinner plate.
Soup Spoon: If soup or fruit is served as a first course, then the accompanying spoon goes to the right of the knives.
Butter Knife: The small spreader is paced diagonally on top of the butter plate, handle on the right and blade down.
Glasses: These are placed on the right, above the knives and spoons. They can number up to five and are placed in the order they will be used. When there are more than three glasses, they can be arranged with smaller glasses in front. The water glass is placed directly above the knives. Just to the right are placed a red or white wine glass. Glasses used for a particular course are removed at the end of the course.
Napkin: The napkin is placed on top of the charger (if one is used) or in the space for the plate. It can also go to the left of the forks, or under the forks if space is tight.
-----
Credit: EmilyPost.Com
STERNO SAFETY TIPS
When it comes to our staff working at events, safety is a top priority for us! Whether it's reminding everyone to say "behind you" when walking through a kitchen or work area or using the proper approach to cleaning up broken glass, most tasks in an event setting have a set of systematic guidelines in which to follow to ensure that the staff and guests are all safe - and this includes the use of chafing dishes and sternos.
Chafing dishes are the heating vessels in which food is kept warm during service. The are very often ornate and pretty - but must be handled with care - especially the sternos that are below. Keep the below tips in mind while working with this equipment:
How to set up a chafing dish:
Maintaining while in use:
Important to keep in mind:
Chafing dishes are the heating vessels in which food is kept warm during service. The are very often ornate and pretty - but must be handled with care - especially the sternos that are below. Keep the below tips in mind while working with this equipment:
How to set up a chafing dish:
- Place the base in exactly the position which you intend to use it.
- Remove the sterno can lid and set sterno in place under chafing dish. Place the lid over the top to control heat during service.
- Place the empty water pan in the stand and check that it is secure.
- Fill the water pan with approximately one inch of boiling water.
- Light the sterno with a stick lighter, taking care to keep your hand away from the flame.
- Place the hot food pan on top of the water pan and close the lid.
Maintaining while in use:
- Occasionally stir the food to make sure the bottom does not burn and ensure even cooking.
- When it comes time to add more sterno, the old burners may be hot so use tongs to take them out. Typically a sterno will burn 1½ to 2 hours, slightly faster if they are outside.
- Use an oven mitt to tilt/lift up one side of the chafer, it you hear a sizzle, add water to the water pan.
- The lid should remain on the chafer while the food is not being served.
- If you think you food is getting too hot, use only one sterno.
Important to keep in mind:
- Do not leave an open flame unattended
- Never use chafers without water in the water pan
- Open the lid carefully so that rising steam does not burn your face or hands
- Never transfer the water pan while the water is hot. Fill with boiling water and allow to cool before disposing of contents.
- Allow fuel canisters to completely cool before removing from holders.
- Extinguish the burners before cleaning up or moving dishes. This can be done by simply putting the lid over the flame, using a large serving spoon, or the bottom of a previously extinguished (and cooled) sterno can.
hOW TO PLAN for A COCKTAIL RECEPTION
Photo Credit: www.silentcapturephoto.com
---
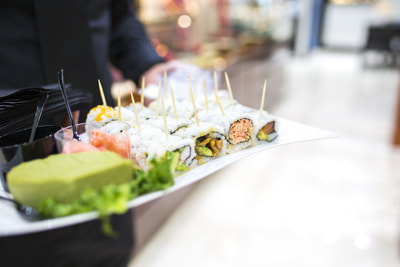
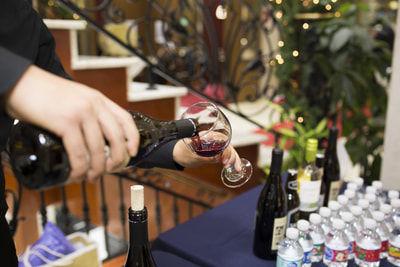
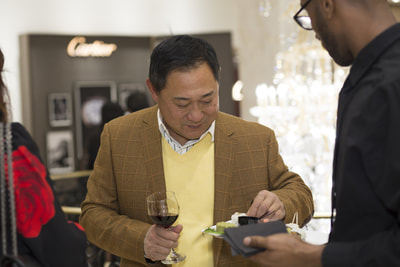
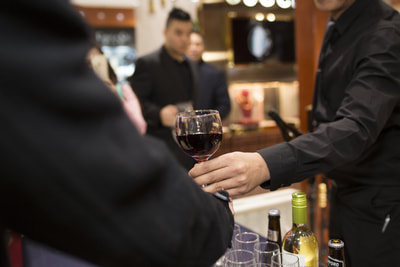
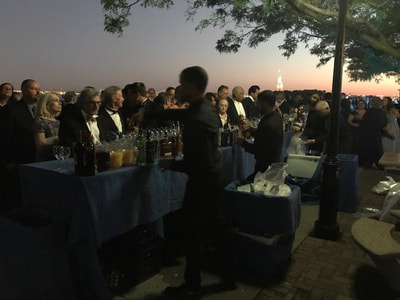
It's that time of the year! Post-Thanksgiving and Pre-New Years and holiday parties are the place to be! Our server and bartending staff had a great time passing hors d'oeuvres and pouring libations to keep the good cheer going at a recent New York City cocktail reception.
When planning for these events, a host may wonder how much food and beverage is the right amount to serve. Below are a few of our quick tips:
Food
Outside of typical meal hours
5-6 types of hors d'oeuvres; Plan on each guest eating 1 or 2 of each.
During typical meal hours
8-10 types of hors d'oeuvres; Plan on each guest eating 2 or 3 of each.
Drinks
• Each guest will drink an average of 2 drinks the first hour; and 1 each hour thereafter.
• A one-liter bottle of alcohol yields approximately 22 mixed drinks.
• To accommodate any non-cocktail drinkers, estimate one bottle of wine per 8 guests.
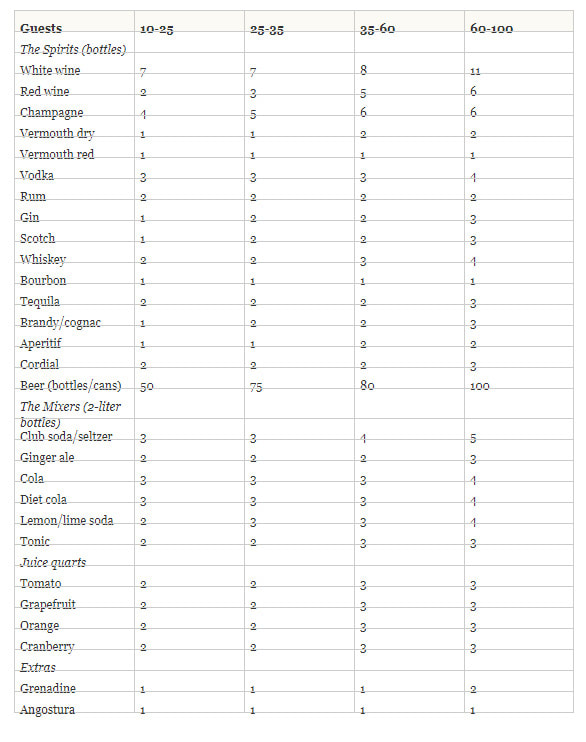
• One 750-ml bottle of Champagne fills six regular Champagne glasses. The amounts listed in the chart below account for how much Champagne guests will drink from the bar. If you plan to have a Champagne toast, you will need to purchase additional bottles—you only need to pour about a third of a glass for a toast, so plan on 1 bottle for every 10 guests.
• Garnishes: Plan on a 1/2 lemon and 1/2 lime and two each of olives, cherries, and onions per guest. This means that if you have 24 guests, you'll need at least 12 lemons and 12 limes plus 48 each of olives, cherries, and onions.
• Plan on one and a half pounds of ice per person. This will provide enough ice for drinks as well as any ice baths for wine or beer.
Liquor and Mixers for a Full Bar
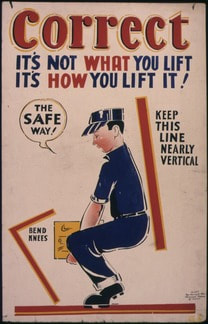
Don't forget: Lift With Your Legs!
Working in the event industry is fast-paced -- and that's why we love it! But even though things around us are happening quickly, we can't forget about safety. One of the most common mistakes while working at an event is lifting something incorrectly, which unfortunately can result in a serious back injury. Since our industry is so physical, we definitely do not want this to happen!
Common GLASSWARE rentals for events
When preparing for an event and ordering glassware, general rule of thumb for quantity is to order 1.5 Glasses / Per Person / Per Hour. And of course, always best to err on the side of more not less. Below is a quick reference for the most-requested types and sizes:
LONG-STEM GLASS
All-Purpose; Red or White Wine
10 oz.
FLUTE
Sparkling Wine, Champagne
5.75 oz.
SHORT-STEM GLASS
Water, Iced Tea, Soft Drinks
11 oz.
PILSNER GLASS
Beer
16 oz.
COCKTAIL GLASSES
Martinis / Drinks Served “Up”
7 oz.
HIGHBALL GLASSES
Liquor With Carbonated Mixers
12.5 oz.
ROCKS GLASSES
Liquor “On The Rocks” / With Ice
11 oz.
LOOKING TO SIMPLIFY YOUR GLASSWARE ORDER?
Opt For a Stemless All-Purpose For All Beverages
5 Tips for preparing a catered outdoor NYC event
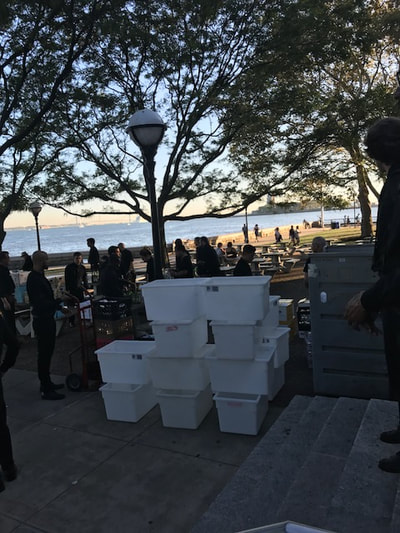
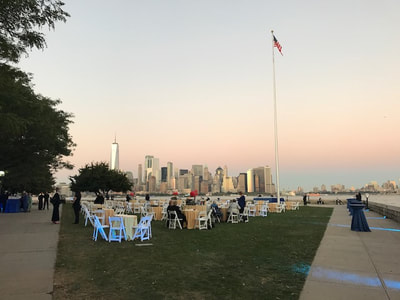
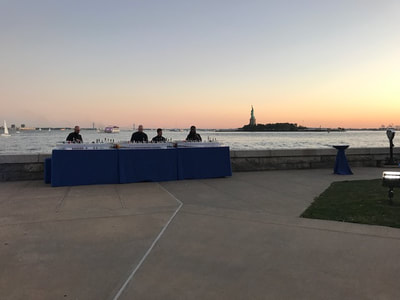
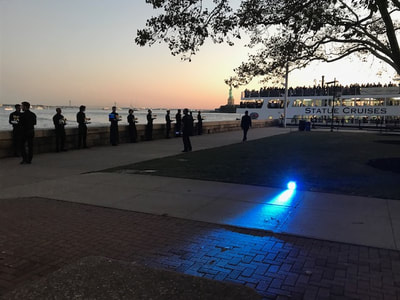
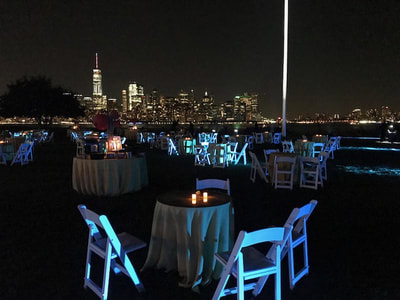
As the New York City event season starts really kicking into high gear, our event staff is ready for action throughout the New York metropolitan area. This weekend our staffing duties brought our team out to Ellis Island and we couldn't have been more captivated by this glorious view! As we were setting up, we thought it would be handy to have a few tips for when working an outdoor catered event (but we can't always promise this panoramic scenery though...)
1) Familiarize Yourself with the Venue / Event Space
If you are able, visit the site well in advance of the event, so you can plan your outdoor catering setup and see the resources that are available to you. The venue layout could dictate what equipment you’ll need to bring, and it also could impact your serving plan. For example, if you’re working out of a truck that needs to be parked out of sight from guests, it’s important to know how far your servers will need to carry dishes and other supplies from your preparation space. A long distance or unmaintained path could slow things down and cause a holdup if you don’t account for it ahead of time.
If you are unable to go to the venue before the day of the event, be sure to contact the location’s representative and talk to them about the site plan. Remember to ask about even the smallest details that you might have discovered if you had seen the site. Asking about the terrain, electrical hookup placement, and light levels can easily be overlooked, but these details could influence how you are able to work on the day of the event.
2) Know Your Zoning Restrictions and Have the Required Permits
Especially if you are working in a temporary event space like a closed street or parking lot, there may be zoning restrictions for the event based on your local government’s policies. Zoning ordinances define how particular geographic areas, or zones, can be used and are principally used for differentiating between commercial and residential spaces. In many places, permits are also required for approval from the health department, fire marshal, and other officials. If you aren’t planning the event, make sure that you know what the approved plans are, so you can avoid fines.
3) Plan Your Menu According to the Space
Consider how the outdoor conditions could affect what your guests would like to eat. The available space, time of year, and even noise level can factor into what kinds of foods your customers could be looking for. For instance, if your eating area is right next to speakers that are playing music loudly, some patrons may not want to sit for very long and would prefer easily portable food to take to a quieter location. Customers in crowded eating areas may feel the same way. On the other hand, guests at an outdoor wedding are typically prepared to remain seated for a full meal, no matter the noise level or number of people present.
4) Have an Inclement Weather Back-Up Plan
One of the trickiest parts of outdoor catering is the weather. Precipitation can put your meal service out of commission if you are not properly prepared for it. At the same time, do not make the assumption that your event will be cancelled if the weather turns out to be less than ideal. In addition to providing shelter for guests, remember that your equipment will need to be protected. While preparing for your event, take the time to find out if the extension cords and generators powering your equipment can be safely shielded from rain. Many outdoor catering supplies are not completely weatherproof, so cover over your preparation area is a must-have in order to keep them safe. Failing to prepare a contingency plan could leave you scrambling on the day of the event and may hinder your ability to perform your duties.
5) Choose Equipment That is Compatible with the Event Space
Without the comforts of a kitchen, having the right outdoor catering equipment for your space can determine how smoothly your event runs. Below are some key components to consider when deciding how to create your temporary outdoor kitchen.
Having an electrical power source is useful for any refrigerators you may need for food preparation. Even if the venue provides them, consider having a generator and extension cords on hand to ensure that your equipment can be powered when you arrive on site. When purchasing a generator, make sure that its voltage is compatible with your equipment. You do not want to invest in a generator with a lower capacity than your equipment requires.
Decide whether you would like to work with liquid propane or natural gas as your heat source for cooking. Liquid propane is more energy efficient, so you may not need to bring as many heavy tanks with you to your location. On the other hand, natural gas is often more economical than propane. When selecting your power source, do not feel limited by which option your equipment is already set up for. In many cases, you can purchase conversion kits to make your supplies compatible with your selected source. Be sure to arrange for a professional to safely install your conversion kit in advance of your event.
If you cater outdoor events often, you may want to invest in mobile outdoor catering equipment. Supplies like portable outdoor grills and portable gas ranges are easily moved from one site to another. Additionally, many options are designed for simple setup, so you can connect to power and begin cooking.
- Thanks to webstaurantstore.com for these handy tips!
5 Tips for a smooth registration experience at your next event
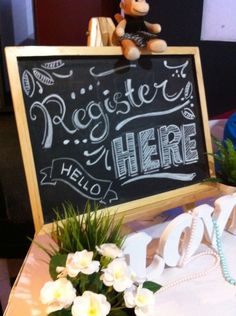
1. Organization is EVERYTHING. Be sure you have enough space and signs directing people to the right area. If you’re using name tags, be sure they are printed before the event and organized alphabetically by last name. Have your sign in sheet ready to go. Map out the path you want guests to take. Think of every last detail you can in order to avoid chaos, especially in a New York City crowd.
2. DO a test run. Don’t underestimate the importance of testing your registration process before the actual event. Go through it yourself, and have someone outside of your staff give it a go. They can give you a fresh perspective, as well as identify anything that may not be working as it should. Put yourself in your attendee’s shoes and focus on functionality, speed and convenience.
3. Hire the right staff. Hiring staff with experience working as registration/greeters will make the whole process MUCH EASIER for you and your attendees.
4. Assign each staff member to a specific task. To make for a more quick and efficient process, have each staff member focus on a key task. For example, have one staff member stand at the beginning of entry to tell attendees to have tickets and IDs ready, then have a 2nd staff member distribute wrist bands or badges, then have a 3rd staff member in charge of signing guests in.
5. Always have an exit plan. Make sure all staff knows ahead of time how to make an entrance into an exit for emergencies and end-of-show foot traffic.
Hopefully these tips will help you can create a more seamless event experience. That means more satisfied attendees—and less stress for you and your staff!
Ever wonder how to REALLY open and pour wine properly?
As event professionals, we may find ourselves in a variety of scenarios when pouring - perhaps it will be at a wedding with table service or a cocktail reception for a corporate product launch. Whatever the event may be, opening a bottle of wine and pouring properly is an essential skill for any bartender. Check out the video here!
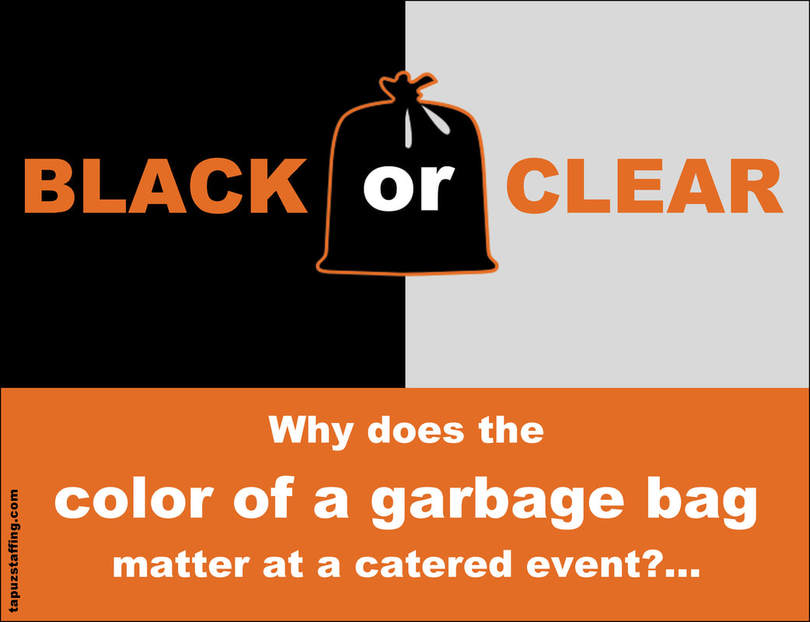
THE COLOR OF A GARBAGE BAG MATTERS??
As event planners, coordinators, hosts, and caterers plan for an event, we all have a checklist or packlist of items that are absolutely needed to ensure the success of the soiree. When our list gets to the Sanitation section, we are usually given the option of either black or clear plastic garbage bags. We may wonder, what's the difference? Don't they function the same? These are a few our guidelines for each:
Black:
When to use:
- Use the black garbage bags for general trash (including food waste and trash from swept floors).
When NOT to use:
- Do not use when lining drinking ice bins at the bar - this will dye the ice black : (
Clear:
When to use:
- When breaking down an event, clear plastic bags are to be used to store rental crates (plates, cups, etc) and linens so the various types can be seen and kept track of.
- Clear bags are to be used for the broken glass box set up in the sanit area.
- Clear bags are the ones to use when lining drinking ice bins when setting up a satellite bar.
- Recycling
When NOT to use:
- Do not use the clear bags for general garbage - the black ones are the ones to use for this purpose.
Common table and linen rentals for events
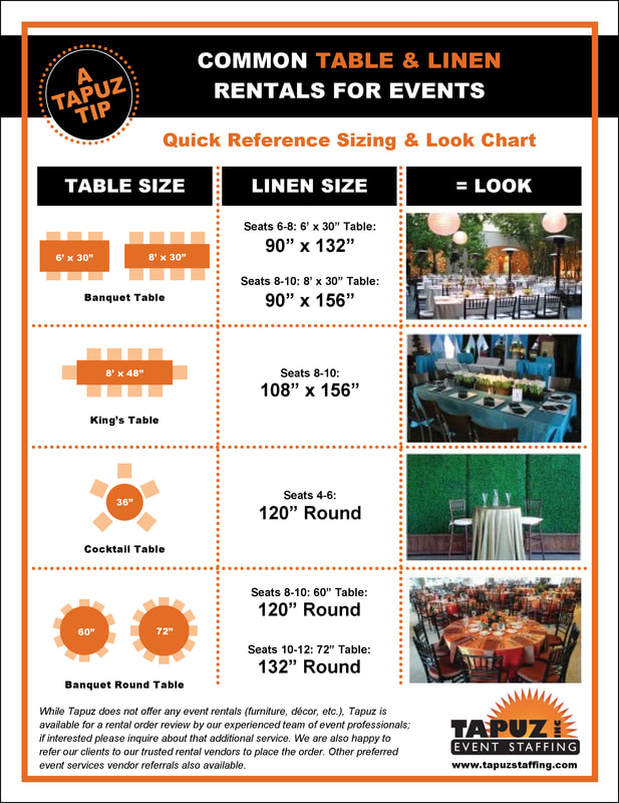
Event staffing is just one element of the event planning check list. Event rentals (for items such as furniture, linen, and decor) is also on the list. While Tapuz does not provide rentals, we are happy to assist with a rental order review and/or refer clients to our trusted and preferred vendors. The below list contains just a few of our most-requested items. Our Table and Linen sizing and look chart here as well for a quick reference.
Banquet Tables
Seats 6-8 Guests: 6 feet x 30 inches:
Required linen size: 90 inches x 132 inches
Seats 8-10 Guests: 8 feet x 30 inches:
Required linen size: 90 inches x 156 inches
King's Table
Seats 8-10 Guests:8 feet x 48 inches:
Required linen size: 108 inches x 156 inches
Cocktail Table
Seats 4-6 Guests: 36 inches round:
Required linen size: 120 inch round
Banquet Round Tables
Seats 8-10 Guests: 60 inch round:
Required linen size: 120 inch round
Seats 10-12 Guests: 72 inch round:
Required linen size: 132 inch round
event staffing by the numbers
1 Captain per 100 Guests
Assists with overseeing timeline, service, staff, menu execution, rental details, and floor plan.
1 Server per 25 Guests*
Serves guests and bus tables according to catering plan; Assists with set up and break down.
* For most types of service. For seated dinners, typically at least 1 server per table, i.e. 1 server per every 10 guests.
1 Coat Check per 75 Guests
Checks in and out coats and bags for guests during events. Changes seasonally.
1 Bartender per 50 Guests
Prepares drinks for guests per finalized catering plan. Sets up and breaks down bar(s).
1 Bar Back per 75 Guests
Assists with set up and break down of bar(s); Replenishes bar during event.
1 Sanit/Porter per 75 Guests
Responsible for rental organization, sanitation, cleaning and/or restocking restroom amenities.
